132 North Park Avenue, Rockville Centre, NY 11570
November 19, 2024
Dental implants are a popular solution for missing teeth. They provide a long-lasting and natural-looking alternative to bridges or dentures. Understanding the process of dental implant placement in Rockville Centre can help ease any anxiety about the procedure. Let’s break down the process step by step.
Initial Consultation
The first step begins with a thorough consultation. During this appointment, your dentist will assess your oral health. They will review your medical history and take X-rays to determine bone density. This information is crucial for planning the implant placement accurately. If you have any underlying conditions, your dentist may refer you to a specialist.
Treatment Planning
After the initial assessment, your dentist will create a customized treatment plan. This plan includes details about the number of implants needed and the timeline for the procedure. They will also explain the types of implants available and recommend the best option for your situation. Clear communication is essential, so don’t hesitate to ask questions.
Preparation and Bone Grafting
In some cases, you may need a bone graft. This is necessary if your jawbone lacks sufficient density to support an implant. Bone grafting involves adding bone material to the jaw to strengthen it. After the graft, you’ll need to wait a few months for the bone to heal. This healing process is critical to ensure the implant’s success.
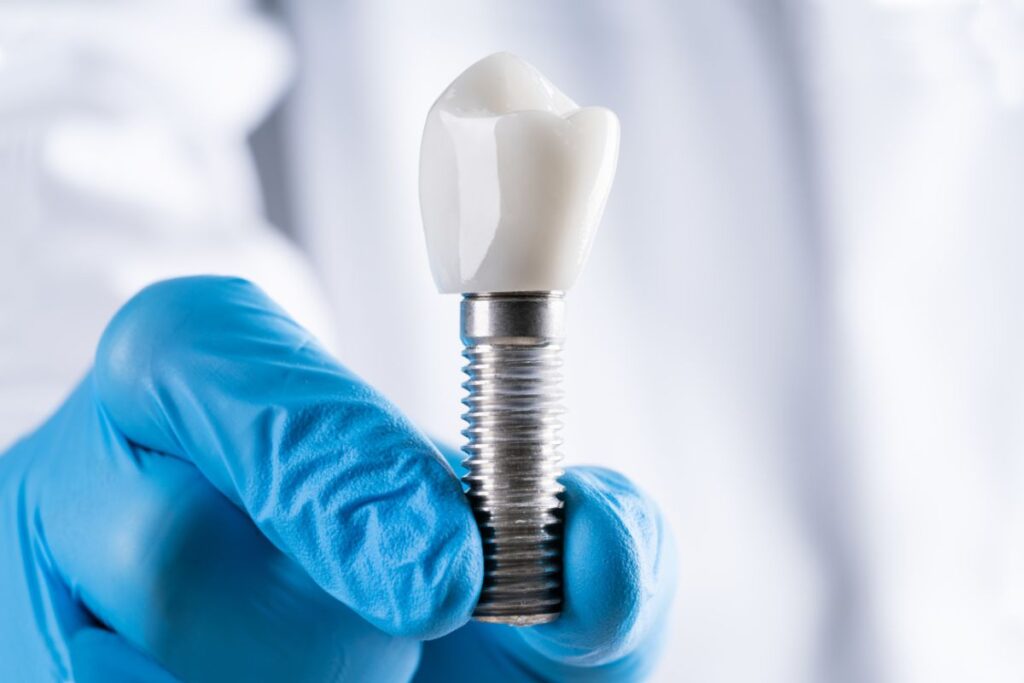
Implant Placement Surgery
Once your jawbone is ready, it’s time for the dental implant placement. This outpatient surgery typically takes one to two hours. Your dentist will use local anesthesia to numb the area, ensuring you feel no pain. They will create a small incision in the gum to expose the bone. A titanium post is then inserted into the jawbone, acting as the root of the new tooth.
Healing and Osseointegration
After the implant is placed, the healing process begins. This phase is known as osseointegration, where the bone fuses with the titanium post. This process can take several months, but it’s essential for the stability of the implant. During this time, you may receive a temporary crown to maintain your appearance.
Abutment Placement
Once osseointegration is complete, you’ll return to your dentist for the next step: abutment placement. An abutment is a small connector placed on top of the implant. It serves as a base for the permanent crown. The dentist will expose the implant and attach the abutment using screws. Some minor discomfort may occur, but it typically subsides quickly.
Custom Crown Creation
With the abutment in place, your dentist will take impressions of your mouth. These impressions are used to create a custom crown that matches your natural teeth. You’ll have the opportunity to discuss the shade and shape of the crown to ensure it blends seamlessly with your smile. It usually takes a couple of weeks for the lab to create your crown.
Final Placement of the Crown
Once your crown is ready, you’ll return for the final placement. Your dentist will securely attach the crown to the abutment. This is the final step in the dental implant placement process. After the crown is in place, you’ll have a fully functional tooth that looks and feels natural.
Aftercare and Maintenance
After your dental implant placement in Rockville Centre, proper care is crucial. Maintain good oral hygiene by brushing and flossing daily. Regular dental check-ups are essential to monitor your implant’s health. Avoid hard foods initially to allow the implant to settle properly.
Conclusion
Understanding the step-by-step process of dental implant placement can help you feel more confident about your decision. With proper planning and care, dental implants can significantly improve your quality of life. If you’re considering this option, consult with a skilled professional to discuss your specific needs. Your journey to a healthier smile begins with that first consultation. Don’t hesitate to reach out today!